Sourdough Autolyse: How Long, When to Skip, and What It Actually Does
What Autolyse Actually Does
Autolyse (pronounced “AW-toe-lees”, from the French for “self-digestion”) is a resting stage popularised by French baker Raymond Calvel in the 1970s: mix only flour and water, rest for a period, then add salt and yeast/starter.
Three things happen during autolyse:
- Hydration: flour particles fully absorb water. This takes longer than a 3-minute mix suggests — especially for bran-heavy whole-grain flours.
- Enzyme activity: amylases in flour start breaking starch into simple sugars (food for yeast). Proteases begin a gentle softening of gluten strands.
- Gluten development: protein strands start linking into a network, without kneading. You’ll feel the dough transform from shaggy and ragged into smooth and elastic.
The result: less mixing needed, more extensible dough, better oven spring, and typically a more open crumb. Not every loaf needs it — but when it helps, it helps a lot.
Timing by Flour Type
100% white bread flour, 70–75% hydration
- Optimal: 30–60 minutes.
- Below 15 minutes: minimal benefit.
- Above 90 minutes: diminishing returns; gluten can over-relax.
10–20% whole wheat blend
- Optimal: 45–75 minutes.
- The bran absorbs water slowly; give it time.
30–40% whole wheat blend
- Optimal: 60–90 minutes.
- Full bran hydration makes a huge difference in crumb.
50–100% whole wheat
- Optimal: 90–120 minutes.
- Longer autolyse yields noticeably softer crumb and better rise.
Rye blends
- Optimal: 90–120 minutes for up to 40% rye.
- 100% rye: skip autolyse — use a sour/sponge method instead. See our rye sourdough guide.
Spelt and ancient grains
- Optimal: 45–60 minutes.
- Longer autolyse risks breaking spelt’s fragile gluten.
Very high hydration (85%+)
- Optimal: 20–40 minutes.
- Long autolyse at high hydration over-softens gluten — dough becomes too slack.
Salt: In or Out?
Most bakers autolyse without salt (classic method). Here’s why:
- Salt slows enzymatic activity — it’s a mild inhibitor of amylase and protease.
- Without salt, enzymes work faster, gluten relaxes more, starches break down better.
- Salt is added after autolyse, along with the starter, during the first mix.
When to include salt (“salted autolyse”)
- Very long autolyse (>2 hours): salt prevents over-relaxation.
- Very high hydration: salt tightens extremely wet dough.
- Shorter recipes: doesn’t matter much at 30 min autolyse.
Autolyse vs Fermentolyse
“Fermentolyse” is autolyse where the starter is included from the start (only salt withheld). It’s popular with wet-dough artisans like Trevor Wilson and Maurizio Leo.
- Starter begins fermenting immediately — some flavour development during the rest.
- Shorter overall time, since fermentolyse counts as early bulk.
- Slightly less gluten relaxation because yeast gas develops simultaneously.
- Good for schedules where you want to compress the morning.
Classic autolyse (flour + water only) remains the gold standard for maximum extensibility and open crumb.
How to Actually Do It
Step-by-step
- Weigh your flour and reserve about 5–10g water for dissolving salt later.
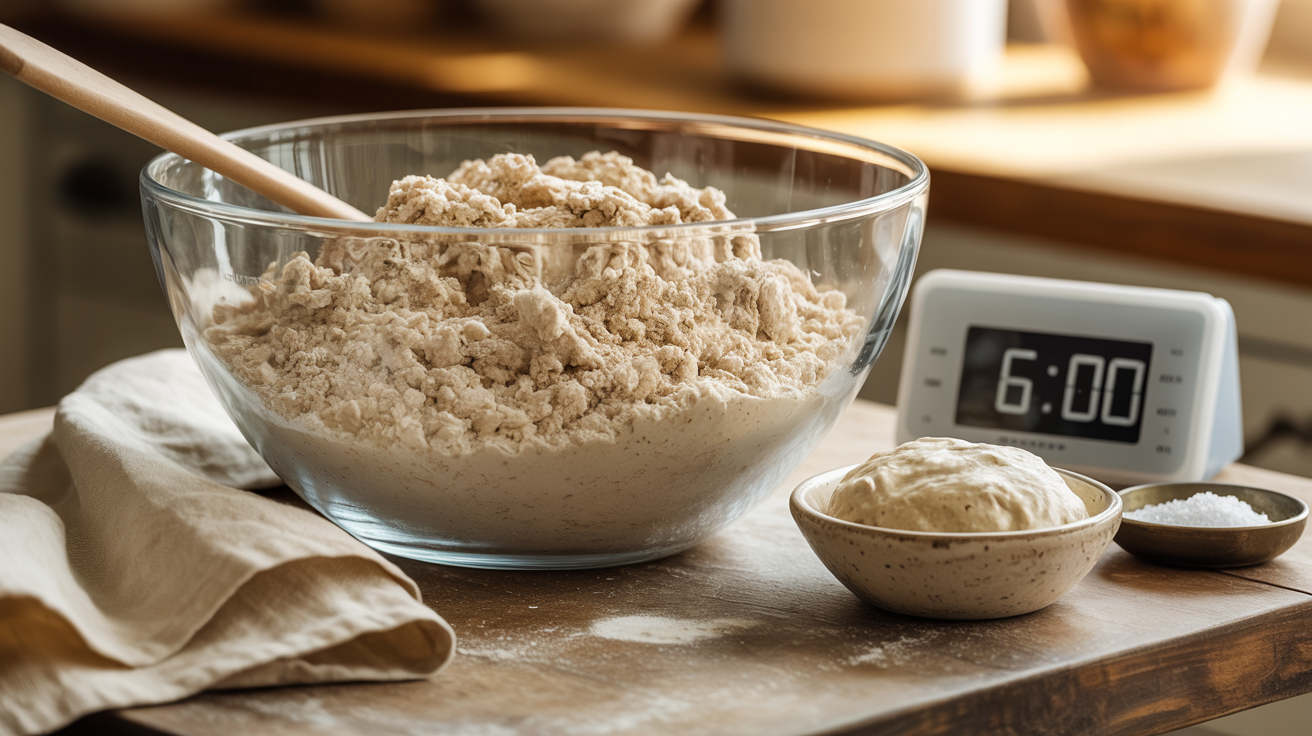
- Combine flour and the remaining water in your bulk container.
- Mix with a wet hand or spoon until all flour is hydrated — it will be shaggy and rough, not smooth.
- Cover with a clean towel, plastic cover, or lid.
- Rest at room temperature for the time indicated above.
- After the rest: dissolve salt in the reserved water, pour it over the dough, add your active starter.
- Mix everything by pinching, folding, or gently squeezing until incorporated.
- Begin stretch-and-folds or coil-folds as per your recipe.
What you’ll notice after autolyse
- Dough has smoothed considerably — fewer dry spots, less lumpy.
- Dough is more extensible — you can stretch a small piece into a thin window without tearing as easily.
- Surface is tacky but not dry.
- No visible fermentation — bubbles appear only after starter is added.
When to Skip Autolyse
Young starter (under 8 weeks)
A young starter benefits from simpler schedules. Skip autolyse, use higher inoculation (25%), and run a warmer bulk.
Very short-bulk schedules
If you’re bulk-fermenting for under 3 hours (hot summer, high inoculation), autolyse eats into your already-short window. Skip it.
100% rye
Rye has no gluten to develop. Skip autolyse, use a sponge/sour method instead.
Highly enriched doughs
Butter, eggs, milk, and sugar fundamentally change gluten behaviour. Enriched breads usually skip autolyse.
Quick sandwich loaves or cinnamon rolls
Structural requirements are lower. Autolyse benefits are marginal.
Common Autolyse Mistakes
- Autolyse too short (5–15 min): minimal benefit, not worth the step.
- Autolyse too long without salt (3+ hours, 80%+ hydration): gluten over-relaxes, dough becomes slack.
- Dough left uncovered: surface dries, creates skin. Always cover.
- Adding starter during autolyse: that’s fermentolyse, not autolyse. Know which one you’re doing.
- Mixing too aggressively after autolyse: the dough is already relaxed; gentle pinch-folding is enough.
Side-by-Side Comparison
Bake the same recipe twice: one with 60-min autolyse, one without. Expected differences:
With autolyse
- Shorter bulk (10–15% faster).
- More open crumb.
- Silkier crumb texture.
- Easier shaping.
- Slightly better oven spring.
Without autolyse
- Slightly longer bulk (as flour hydrates during fermentation).
- Tighter, smaller crumb.
- More work during mixing.
- Sharper shaping definition (can be nice for some styles).
Autolyse for Different Crumb Goals
Open airy crumb
- 60–90 min autolyse without salt.
- 75–82% hydration.
- Minimal kneading after.
Tight sandwich crumb
- 20–30 min autolyse.
- 65–70% hydration.
- More mechanical mixing after.
Whole grain deep flavour
- 90–120 min autolyse.
- Salt excluded — let enzymes work fully.
FAQ
Can I autolyse overnight?
Only with salt included (otherwise enzymes break down gluten too much). 6–8 hour autolyse is a technique for some high-whole-grain breads, but it’s advanced.
Does warmer water speed autolyse?
Yes — enzyme activity doubles roughly every 5°C. Tap water (20–30°C) is fine; avoid above 40°C which damages enzymes.
Can I autolyse in the fridge?
Yes, for 4–12 hours. Cold autolyse is slower but produces very extensible doughs. Common in baguette recipes.
Do I still need kneading after autolyse?
Far less. A few stretch-and-folds or a brief gentle knead is usually enough. That’s a main benefit of autolyse.
Next Steps
On your next bake, add a 45-minute autolyse and compare. You’ll feel the difference immediately in dough handling. Pair with our bulk fermentation signs guide and proofing time chart. Use the sourdough ratio calculator for ingredient planning.